
Using the New Timeline Explorer in Magnet AXIOM 3.0
Almost any type of investigation can benefit from timeline analysis to help understand what the user or the system did during a given incident. Whether you’re trying to understand how a suspect distributed child exploitation material or are tracking malware pivoting across several systems in an intrusion, timeline analysis can help pinpoint the exact offense or step through exactly how an incident occurred.
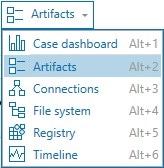
With the launch of AXIOM 3.0, we’ve made some major improvements on how examiners can conduct timeline analysis in AXIOM. Previously, examiners who used the Timeline View in AXIOM Examine were limited to only seeing timestamps from artifacts. With AXIOM 3.0, we’ve added the ability to analyze all timestamps recovered by AXIOM from both artifacts and the file system. With this change, we’ve moved Timeline from the Views in the Artifacts Explorer to its own explorer beside File System, Artifacts, Registry, etc...
When using Timeline for the first time in a case, you’ll need to allow a few minutes for the timeline to be built. This is a one-time action and allows AXIOM Examine to create a database of all the timestamps across the artifacts and file system and place them together. Typically, there are a lot more timestamps than files and artifacts in a given case and where an artifact will have one record for every “hit”, timeline has a record for every timestamp in a case (every file/folder in the file system will have on average four timestamps and every artifact can vary between one and eight unique timestamps for every hit which means that in a given case with 400,000 artifacts, you may have 800,000 – 1,000,000 timestamps to analyze).
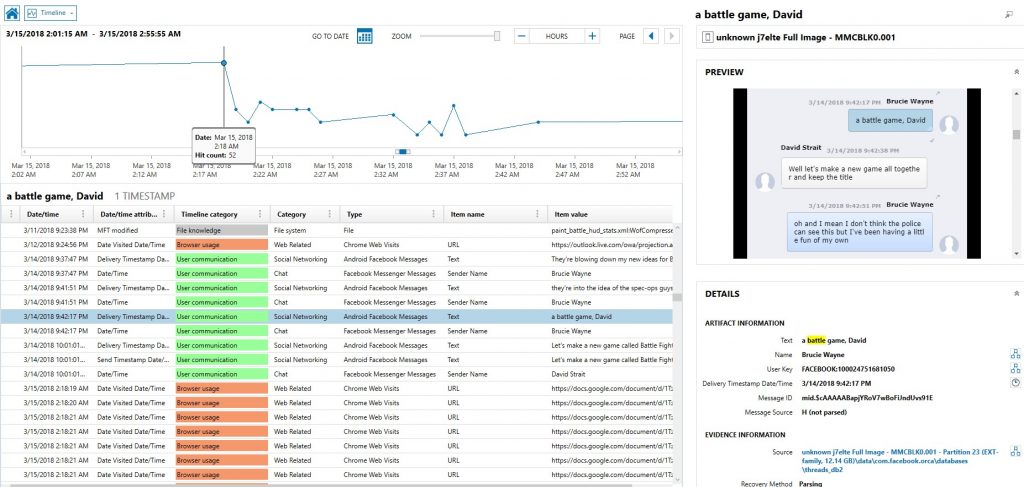
Once the timeline is built, you can begin your analysis. The top left window will give you a visual overview of the timeline while the right side will show a preview of the evidence (if available) and details of the file/folder or artifact selected allowing you to understand where the timestamp was pulled and what significance it might have in your case.
The bottom left window will have a sorted view of all the timestamps laid out with details about each timestamp and what it represents. Within this window, AXIOM will attempt to categorize the timestamp and relate it to evidence of a particular action.
Anyone who has ever taken a SANS course with Rob Lee or have used their “Evidence Of…” posters will recognize the similarity here. We’ve attempted to categorize all the file system and artifact timestamps that AXIOM finds (which is a lot) into these “Evidence of” categories. Additionally, we needed to create some additional categories for timestamps and artifacts that didn’t quite have a place so some from this list might be familiar, but others may be new. The list of categories is below, and we’ve included definitions for each category within the AXIOM documentation:
- File Download
- Program Execution
- Deleted File
- File Knowledge
- Network Activity
- Physical Location
- File/Folder Opening
- Account Usage
- Browser Usage
- External Device/USB Usage
- User Communication
- Social Activity
- Financial Transactions
- Device Interaction
- User Event
You can also apply filters across the timeline to help narrow your investigation by source evidence, type of timestamp (artifacts or file system), timeline category, or date/time range. Keyword searches are also available to be stacked with the other filters much like in previous versions of AXIOM.
Because each record in the Timeline Explorer represents a single timestamp, you’ll notice for every artifact that has multiple timestamps, you’re given the option to jump between the other timestamps available for that particular artifact allowing you to quickly navigate to other date/times if you find valuable evidence. This will also be visible in the visual timeline in the top left window by a vertical bar in the graph showing each timestamp for that given artifact in the timeline.
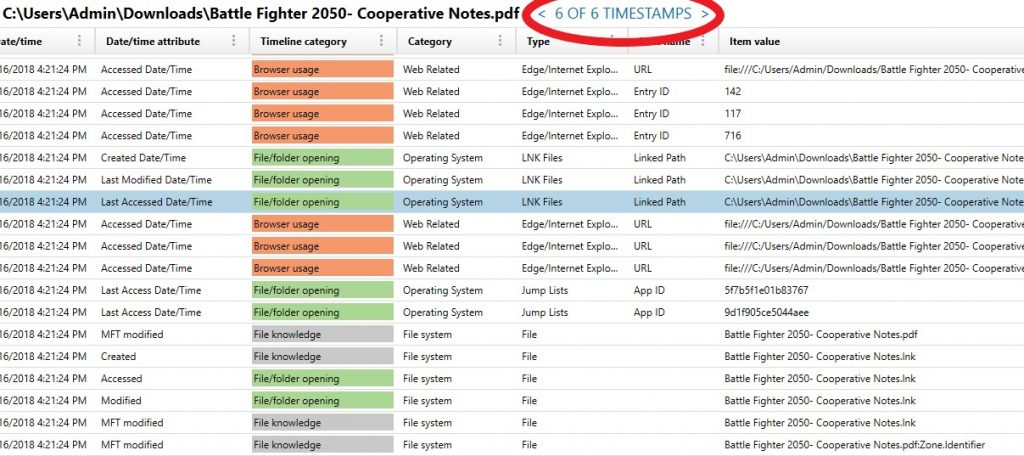
The example above shows an LNK file referencing a PDF document and has 6 timestamps associated to it. I have one of the timestamps selected but can navigate between the 5 others by selecting the next or previous buttons.
Finally, you can then export your findings into a .CSV that can be used in your report to your stakeholders, allowing you to tell a story about how an incident occurred from start to finish. Overall, the improved timeline capabilities in AXIOM will help examiners analyze the evidence in their cases quickly and efficiently and allows us to step through exactly what a user or system did at a given time which allows us to not only provide evidence of a particular action or but step through the actions in a very granular manner. Instead of simply providing the document/picture/file as proof, this new timeline will help examiners show how the file was created/edited, who made those changes, where it was shared or moved, and the order in which this all occurred.
Try out the new timeline capabilities in AXIOM in your next case and you’ll be pleasantly surprised with the changes and how it can help your investigation.